Clips & DaVinci Resolve
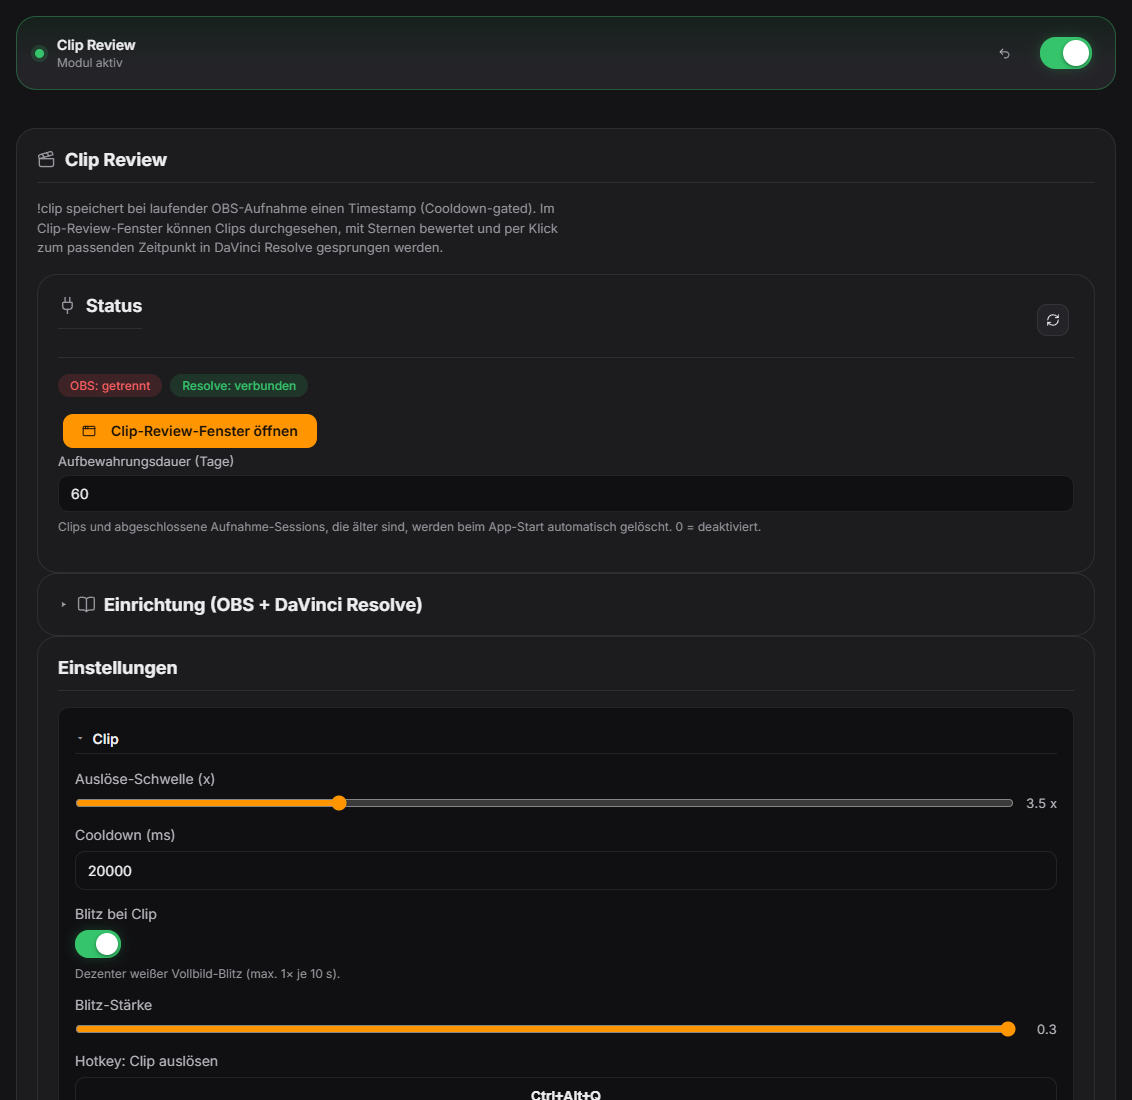
ClipModule marks moments during recording, collects them in a review list and can export the best ones straight to a DaVinci Resolve timeline via a bridge. Without a running OBS recording, !clip only posts a chat warning. Individual clips and whole recording sessions can be deleted in the Clip Review window; a configurable automatic cleanup (default 60 days) prevents unbounded growth of the clip list. The hotkey to trigger a clip is a regular setting in the Clip tab. Since 1.0.24: the flash in the clip overlay is subtle (at most once every 10 s, can be turned off, strength slider); the clip badge can be moved in the Positions tab.
Trigger Chat command !clip (default: everyone) — only effective while OBS is recording.
Requirements
- OBS connected (see "Setting up OBS") and a recording in progress.
- Recommended OBS recording format: MKV (with auto remux to MP4) so crashes don't corrupt recordings.
- For Resolve export: DaVinci Resolve Studio (not free version).
- Python 3.x installed on Windows.
- The following 3 Windows environment variables set for Resolve Scripting API:
- - `RESOLVE_SCRIPT_API`: `C:\Program Files\Blackmagic Design\DaVinci Resolve\Developer\Scripting`
- - `RESOLVE_SCRIPT_LIB`: `C:\Program Files\Blackmagic Design\DaVinci Resolve\fusionscript.dll`
- - `PYTHONPATH`: `%RESOLVE_SCRIPT_API%\Modules\`
Step by step
- Connect OBS and start the recording before using !clip.
- On stream: !clip in chat drops a timestamp with pre/post buffer; marker appears in clip tab.
- After the stream, review and rate the markers in the clip tab.
- For editing: install Resolve Studio and Python.
- Set the Windows environment variables RESOLVE_SCRIPT_API and RESOLVE_SCRIPT_LIB to the Resolve scripting paths and add the Resolve modules directory to PYTHONPATH (values from the Resolve "Scripting" docs).
- Open Resolve, then start the export in Zappify — the bridge creates a timeline with the selected clips.
If it doesn't work
- !clip only posts a warning: OBS is not recording — start the recording (streaming alone is not enough).
- Resolve export fails: Resolve isn't open, or it's the free version rather than Studio.
- "Resolve script API not found": the environment variables are missing or point to the wrong path — sign out/restart after setting them.
- Python not found: install Python and make sure it's on the PATH.
Last updated: 7 November 2026